Installation Method of Wall Fan
Installation method of 18 inch oscillating wall fan
NAKAA 18 inch wall fan with remote control and can be added wifi function.

1. Installation of the motor and remote control holder on the wall
a . Remove the motor from the packaging.
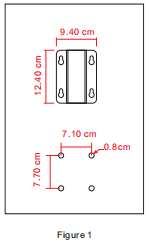
b . Place the wall fan at the desired place for installation, then drill four holes on the wall with the measurement shown in (figure 1).
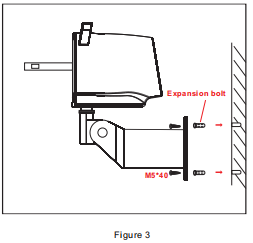
c . Align the four holes on the DC motor frame to the four holes on the wall, then insert the expansion bolt into the four holes and insert the four M5*40 screws into the holes and tighten securely (figure 3) .
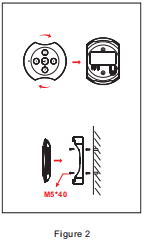
d .Place the remote control holder at the desired place for installation, then drill four holes on the wall with the measurement shown in (figure 2). Then take the M3*20 screws and tighten securely.
2. Assembly of Net Cover and Fan Blade.
a.Assembly of rear net cover: -Remove the Nut of the blade and four M5*10 screws from the front of motor.
-Align the four small holes of the rear net cover to the four screw holes of the motor.
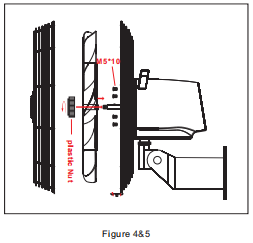
-Use the four M5*10 screws to secure the rear cover to the motor (figure 4).
b.Assembly of blade: -Remove the protective sleeve on the motor shaft.
-Insert the centre of the blade into the motor shaft and take the plastic Nut and tighten on an anti-clockwise direction (figure 5) .
c.Assembly of front cover:
-Loosen the screw at the bottom of the net cover.
-Place the security lock downwards, then insert the front cover into corresponding position of the net frame.
-Adjust the alignment of the front and rear net cover carefully.
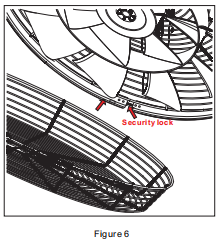
-Then tighten the screw of the security lock (figure 6).
